- 01392 920142
- 07712398696
- info@exebathrooms.co.uk
- Unit 1, Rosamond Farm, Perkin's Village, Exeter EX5 2JG
Updating your bathroom can feel overwhelming, especially when considering tight budgets and busy schedules. But, undertaking this task yourself holds incredible potential—not just for cost savings but also for creating a personalized retreat without waiting for hired hands. Planning is your secret weapon; with careful thought, even the most outdated bathroom can be transformed affordably and stylishly.
Digging into every detail matters—from measuring dimensions accurately to listing out materials that fit both your vision and wallet. Imagine sketching your dream layout while sipping your morning coffee or matching color swatches as sunlight filters through the window. These small yet significant steps set the stage for a seamless renovation journey. Before long, you’ll find that structured planning not only keeps costs in check but also turns a daunting project into an exciting adventure.
Some essential DIY bathroom renovation tips for beginners include setting a realistic budget, planning your layout carefully, and prioritizing tasks such as painting, replacing fixtures, or re-grouting tile. Additionally, always measure spaces accurately before purchasing materials to ensure everything fits properly and consider watching tutorial videos to gain confidence in your skills.

Planning is indeed the cornerstone of a successful bathroom renovation. This process begins with creating a layout plan. Start by sketching a detailed, scaled layout of your current bathroom. Consider indicating changes, such as relocating fixtures or adding storage solutions like cabinets or shelves.
Visualizing these adjustments helps you see how the space can be transformed and ensures nothing crucial is overlooked. A simple pencil-and-paper drawing can work wonders here, but you might also consider design software for a more precise visual representation.
Once you have a satisfying layout, the next step is to make sure all the numbers add up by taking accurate measurements.
Accurately measuring every dimension of your space is crucial to avoid costly mistakes. Take note of the length and width of your bathroom, as well as the height to the ceiling. Don’t forget to measure around doorways, windows, and existing plumbing fixtures. A laser measurer can significantly improve accuracy while saving time.
Additionally, create a comprehensive materials list based on that final design concept that fits within your budget constraints.
After securing those essential dimensions and items needed for your project, it’s time to turn to budgeting—arguably one of the most significant steps in this process.
Based on your layout and materials list, set a realistic budget that encompasses all aspects of your renovation. Break down costs into categories: labor, supplies, and additional factors like permits if necessary. Using an Excel sheet can help track expenses efficiently while allowing you to adjust numbers in real time as you discover new materials or tools you want to use.
And remember—always add a 10% contingency fund for unexpected costs that may arise during renovation; this extra cushion will help protect against surprises that might otherwise derail your plans.
By meticulously planning each step—from layout to budgeting—you ensure that every detail aligns with your vision while also laying a strong foundation for what comes next in optimizing functionality and aesthetics within this critical space.
Understanding your existing bathroom is essential for a successful renovation, as it strongly influences your choices moving forward. Begin by assessing the overall functionality of the space. This doesn’t just mean noting how the bathroom looks but diving deeper into how it works for you and your family. Ask yourself, “Are the current fixtures serving my daily needs?”
Check if there is sufficient storage for towels, toiletries, and other essentials. If your vanity is overflowing or if you feel cramped when using the sink, these indicators can guide you toward solutions that could transform the space.
Evaluating these functional aspects helps sidestep common issues that arise with improper planning.
When evaluating the fixtures themselves, consider their condition—are they dated or even failing? For instance, if you rarely use the bathtub, converting it into a walk-in shower can significantly open up your space while offering a modern look. This decision not only enhances aesthetics but optimizes usability in a bathroom where time often feels limited.
Additionally, think about who uses the bathroom regularly. Are younger kids often bathing? Or is it primarily a guest bathroom? Choose fixtures and storage solutions that cater to your specific habits.
Once you’ve painted a clear picture of how you currently utilize the space, it’s time to consider any structural elements that may need to be addressed in conjunction with your aesthetic vision.
Next comes the critical inspection phase. Look for signs of potential issues such as mold, mildew, leaks, or outdated plumbing systems lurking behind those perfectly placed tiles and charming fixtures. These problems might be silent but can create chaos when left unaddressed during your renovations.
A hidden leak might compromise new flooring or walls—leading to costly repairs down the line if not discovered early on. It’s wise to invest some time and possibly professional help in identifying such concerns before making cosmetic changes.
Addressing these hidden damages before starting your renovation is crucial to avoid larger problems later and keep everything stress-free throughout the project.
By taking these important steps, you pave the way for creating an inviting oasis tailored to your needs while also safeguarding against future mishaps. Now, let’s explore some innovative ideas that can spark inspiration for your transformation

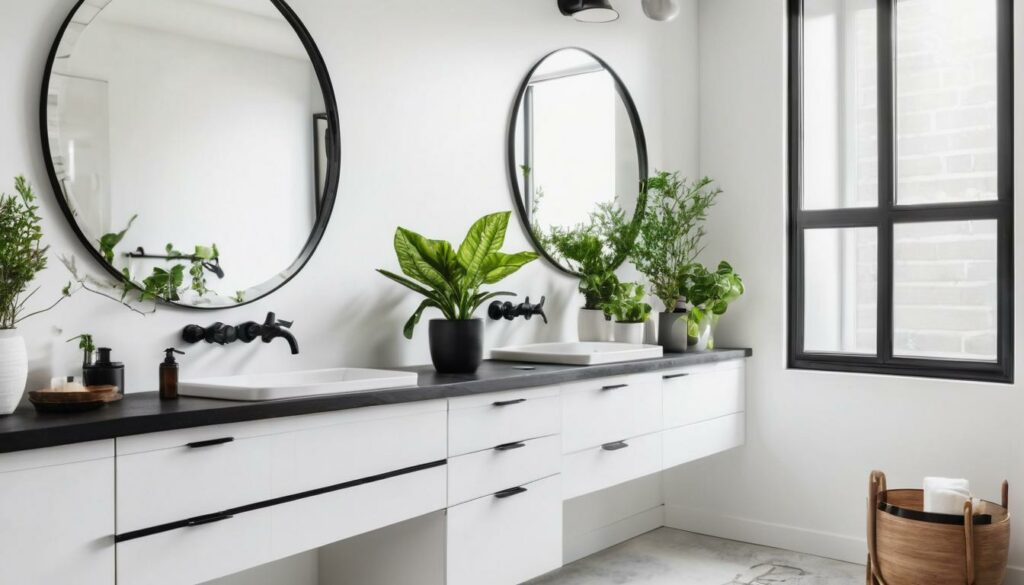
To infuse creativity in your bathroom redesign, exploring various styles can open up a world of possibilities. Consider aesthetic themes that resonate with you, such as minimalist, industrial, or vintage designs. Each style sets a distinct mood and influences the choice of materials, colors, and fixtures.
For instance, minimalist design emphasizes clean lines and uncluttered spaces, promoting a sense of calm and serenity. On the other hand, industrial design incorporates raw elements like exposed pipes and concrete surfaces for an edgy look that commands attention. Platforms such as Pinterest and Houzz are treasure troves of visual inspiration—drawing ideas from the latest trends or timeless classics can lead you toward a direction that feels right for your space.
Once you’ve gauged potential styles, consider how color and lighting choices will enhance the overall vibe of your bathroom.
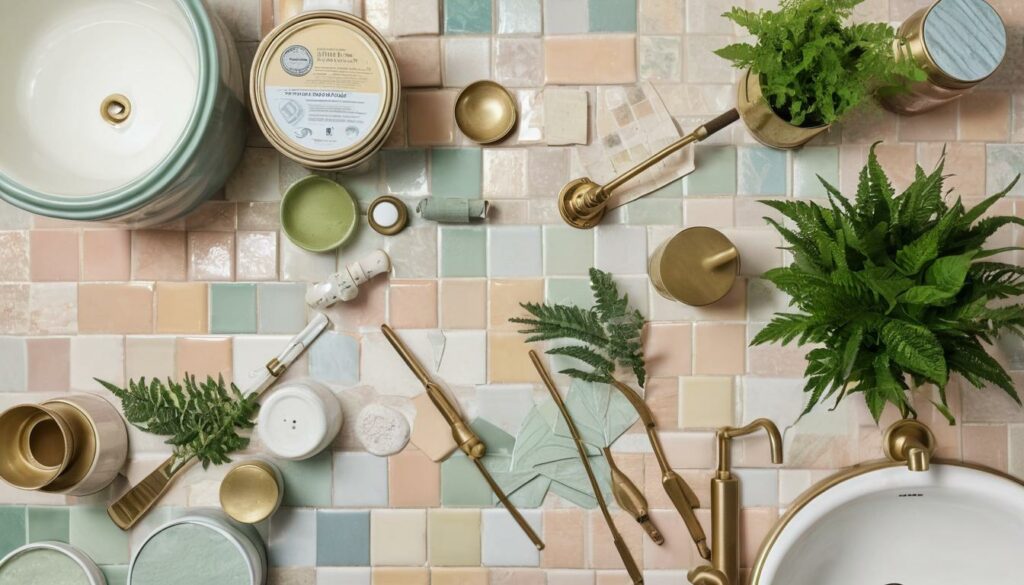
Selecting a color scheme that aligns with your chosen style is crucial in shaping the atmosphere of your bathroom. Soft pastels might create a serene ambiance perfect for relaxation, whereas bold dark tones can introduce an element of drama that makes a statement. The interplay between color and lighting is also essential; wisely placed light fixtures can enhance the hues you’ve selected, making colors pop or creating shadows for depth.
Consider using layered lighting options—incorporating task lights above mirrors alongside softer ambient lighting can dramatically affect how space feels during different times of day.
After establishing a color palette and lighting plan, let’s explore how to add those special personal touches to truly make the space your own.
One effective strategy in bathroom renovation is incorporating unique elements that showcase your personality—think antique mirrors or custom-made vanities that tell a story. Such additions transcend mere function; they become focal points that draw the eye and invite conversation.
For example, crafting a DIY reclaimed wood shelf adds not only character but also considerable savings to your renovation budget. This shelf wouldn’t just serve practical purposes; it would embody history and craftsmanship, contributing to an inviting atmosphere. Personal touches like these elevate your bathroom from standard to extraordinary, creating a welcoming retreat tailored just for you.
As we incorporate these thoughtful design choices, it’s essential to keep budget considerations at the forefront for a successful upgrade.
Renovating your bathroom can feel daunting, especially when you think about costs, but it doesn’t have to be a financial strain. One of the best strategies is to repurpose and upcycle items to give your space a fresh aesthetic without spending a fortune. For instance, rather than tossing out those old cabinets, why not breathe new life into them with a vibrant coat of paint? This simple act can transform their appearance completely and save you hundreds compared to purchasing brand-new cabinets.
Repainting existing cabinets is a straightforward DIY project that requires minimal supplies. Choosing a bold color can even make the entire room feel brighter and more welcoming.
Another clever trick is to use peel-and-stick tiles. These are easy to install and usually come in attractive designs that mimic traditional tiles. They allow for an immediate facelift on walls or floors without hefty labor costs.
Consider turning old furniture pieces, like dressers or stools, into unique bathroom storage solutions. With just a little creativity, these items can serve both functional and decorative purposes.
Beyond repurposing, being savvy about where you shop can significantly affect your renovation budget.
A focused approach to shopping can yield remarkable savings. Visiting discount stores can uncover treasures at reduced rates that fit any homeowner’s pocketbook. Online marketplaces also offer great deals; Craigslist in particular often lists gently used fixtures at a fraction of their retail price. Engaging with community groups on social media platforms like Facebook Marketplace can lead you to hidden gems as well.
In fact, according to a HomeAdvisor survey, using reclaimed materials can cut renovation costs by up to 20%. It’s about being resourceful and open to alternatives that may not seem immediately appealing but could fit perfectly in your design scheme.
Implementing these budget-friendly renovation tips will allow you to create a stunning bathroom transformation while keeping a close tab on expenses. Each step taken not only saves money but encourages creativity, giving your space a personalized touch that reflects your style without compromising quality or safety.
As we explore further options for enhancing your bathroom’s function and aesthetics, let’s turn our focus toward how updates in tiling and fixtures play vital roles in the overall renovation process.
One of the most impactful changes you can make during a bathroom renovation is updating the tiles and fixtures. Replacing old tiles introduces not only fresh colors and patterns but also enhances the overall functionality of the space. When tackling tile replacement, begin by carefully removing the old tiles. Use a chisel and hammer for this task, being sure to wear safety goggles and gloves to protect yourself from shards flying off as they break apart. This step may seem tedious, but it lays the foundation for everything that follows.
Once the old tiles are removed, it’s crucial to clean the surface thoroughly to ensure proper adhesion for your new tiles. Consider using a grout remover for stubborn residue to make sure your new adhesive works well on a clean surface. After preparing the area, apply a sturdy tile adhesive. Pay attention to the manufacturer’s instructions here—some adhesives may require different drying times or application methods. As you lay down each tile, utilize spacers to maintain even gaps, which will help when it comes time for grouting. Once all the tiles are in place, allow them to set before proceeding with grouting.
Grouting is an essential step because it fills in the gaps between tiles, preventing water from seeping underneath and causing damage over time.
Now that we have our sparkling new tiles laid out beautifully, let’s turn our attention to upgrading those dated fixtures.
Swapping out old fixtures is another surefire way to modernize your bathroom without breaking the bank. When choosing new fixtures, keep plumbing configurations in mind to avoid costly adjustments; you’ll want to find replacements that fit existing holes or plumbing lines. This alignment not only saves money but also makes for a quicker installation process.
It’s wise to opt for water-saving fixtures, such as low-flow showerheads and faucets designed to reduce water consumption without sacrificing performance. Not only do these choices contribute positively to the environment, but they also significantly lower utility bills over time—a win-win situation!
Additionally, consider styles that complement your new tile layout; cohesiveness gives your bathroom a polished look that ties everything together seamlessly.
With newly updated fixtures in place, you’re ready to explore how custom touches can enhance your space further.

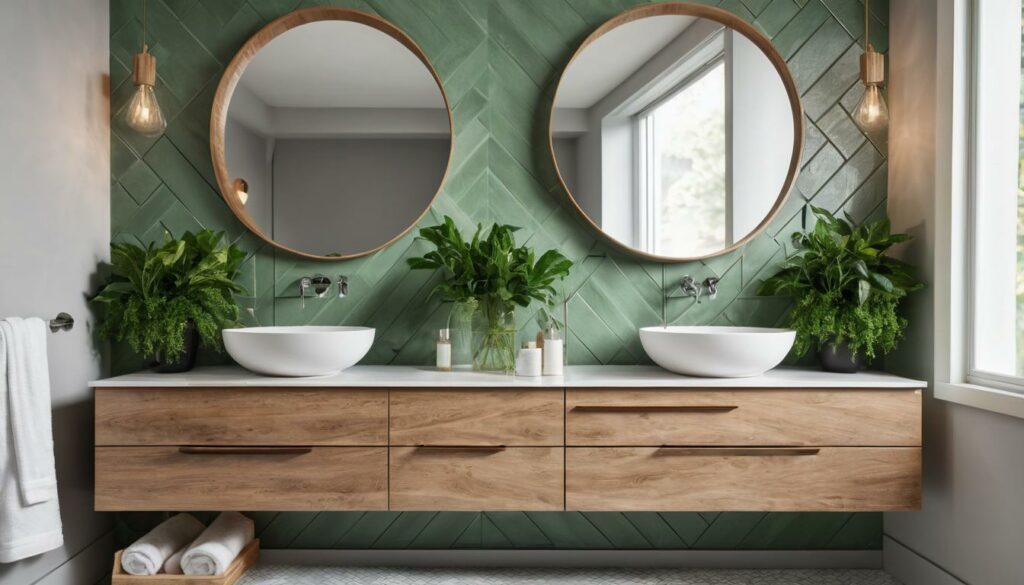
Custom upgrades can infuse your bathroom with personality and style, making it feel more like your own haven. One of the most impactful changes you can make is investing in a bespoke vanity that seamlessly fits your space. Imagine a beautiful, handcrafted vanity made from reclaimed wood that not only adds a rustic touch but also tells a story behind its materials.
For those who prefer a modern aesthetic, a sleek, polished granite vanity radiates elegance and sophistication. No matter which route you choose, the right vanity can transform the overall look and functionality of your bathroom.
When designing your custom upgrades, think beyond just the vanity. Consider integrating unique artistic features that serve as conversation starters. Handcrafted elements—like mosaic tile art or a hand-painted sink—can add flair and character to your space. By sourcing these items from artisans on platforms like Etsy, you can find one-of-a-kind pieces that not only elevate the design but also support local craftsmen.
Remember that each component of your bathroom contributes to the overall vibe. By carefully selecting elements that resonate with your style, you can create a cohesive space that feels distinctly yours.
Custom upgrades are also about thinking creatively within your budget. From adding thoughtful lighting fixtures that enhance ambiance to utilizing floating shelves made from reclaimed materials for extra storage space, every choice counts towards elevating that bathroom experience without overwhelming costs. The balance between aesthetics and functionality is key, ensuring that each upgrade not only looks good but serves an essential purpose in your daily routine.
As you consider these enhancements, it’s crucial to recognize how small details contribute significantly to the overall feel of your bathroom. Now, let’s explore practical strategies to ensure your project goes as smoothly as possible.
To ensure your bathroom renovation project is a rewarding experience rather than a challenging ordeal, it’s crucial to keep certain factors in mind. First and foremost is safety. Wearing appropriate safety gear is not merely a suggestion; it should be non-negotiable. When you’re working with tools or chemicals, such as paints or solvents, good ventilation is key. I can’t stress enough how valuable a good quality mask is during those moments of sanding or painting. It’s easy to underestimate the dust and fumes that can accumulate, but protecting yourself from exposure will greatly enhance your working environment.
Beyond safety measures, there’s an important aspect of self-awareness—honestly assess your limits. While DIY projects can be immensely fulfilling and cost-effective, it’s vital to recognize when a task exceeds your skill set. For instance, tackling basic repairs or cosmetic upgrades may be manageable for a determined do-it-yourselfer; however, complexities involving electrical wiring or intricate plumbing systems are where the expertise of a professional cannot be overlooked. Trust me, calling in an expert at the right moment can save you both time and money in the long run.
As you embark on this journey, having a plan becomes indispensable.
Creating a timeline is not just about having a roadmap; it serves as your structured guide throughout the renovation process. By setting specific milestones, you can help ensure that your project stays on track while also allowing room for flexibility. Unexpected delays happen—whether due to delivery issues with materials or necessary adjustments stemming from new ideas that arise mid-project.
A well-structured timeline helps you balance efficiency with adaptability.
The practical side of crafting your timeline includes listing out all tasks that need completion along with realistic time estimates for each one. For example, if you plan to paint the walls after installing new tiles, factor in time for drying and curing between steps. A small visual chart can be handy here, perhaps even created on a piece of poster board or digitally using project management software like Trello or Asana.
Integrating these elements—safety, self-awareness regarding limits, and organized planning—will significantly enhance your chances of success in transforming your bathroom into the space you’ve envisioned. Each component plays an integral role in fostering not only a seamless workflow but also ensuring that you enjoy every part of the process.
As we consider the practical application of these tips, real-world examples can shed light on what works best in various scenarios. Let’s turn our focus to those stories now.
Transforming a bathroom can be a daunting task, but real-life stories of successful renovations can provide encouragement and valuable tips.
Take the minimalist approach demonstrated by John and Jane from Texas, who turned their cramped bathroom into a serene space. They meticulously stripped away unnecessary decorations, opting for sleek lines and a neutral color palette, which gave the illusion of more space. Instead of purchasing expensive fixtures, they redeployed some existing elements, such as a simple vanity that they painted to match their new vision. Their careful planning and execution allowed them to save about £4,000—a notable figure that speaks volumes about the potential savings when you DIY.
This couple’s experience underscores the idea that simplicity often leads to sophistication in design.
On the other end of the spectrum is Emily from New York, who retained the vintage charm of her 1920s bathroom while integrating modern conveniences. She chose to keep historical features such as the original claw-foot tub and paired it with chic antique light fixtures that highlighted both old-world elegance and modern functionality. Emily’s ability to blend styles resulted in a visually stunning bathroom and significantly boosted her home’s value post-renovation. By sharing her renovation journey online, she provides context and inspiration for others looking to harmonize modern updates with classic beauty.
Learning from John, Jane, and Emily’s experiences offers valuable lessons for anyone looking to renovate their own bathrooms. One crucial takeaway is the importance of staying true to a theme that resonates with you personally; whether minimalist or vintage charm, having a clear vision can guide your choices throughout the process.
Furthermore, budgeting wisely allows for creative solutions: repurposing items or shopping second-hand can lead to significant savings without sacrificing style.
Finally, both examples illustrate that involving personal touches adds character—making the space uniquely yours while enhancing enjoyment over time. By understanding what others have accomplished through their DIY bathroom renovations, you can approach your own project with newfound confidence and clarity.

EXE Bathrooms specialises in designing and installing stunning, custom bathrooms across Exeter and Devon. We offer a complete service from design to supply and installation, ensuring a seamless process and exceptional results.